The article "Creating booking types" provides you with a detailed explanation on how you can map different booking types on TradeLink. These booking types must then be assigned to so called loading docks.
Loading points can be created under the site settings. In your site settings, navigate to "Loading docks" and click on "+ Create new loading dock".

First, you need to give your loading dock a name, such as "Ramp 1". Next, the booking types you have previously created must be assigned to the dock you are creating. For example, if "Dock 1" is for inbound, you can select the "Inbound" booking type. If none of the booking types listed below are suitable for this dock, you can simply create a new booking type by clicking on the "+" icon next to "Supported booking types".
The last step is to select the operating hours for the loading dock. Here you can choose between the previously created calendars under "Operating hours". As with the booking types, you can also create a new loading dock-specific calendar here by clicking on the "+" symbol.
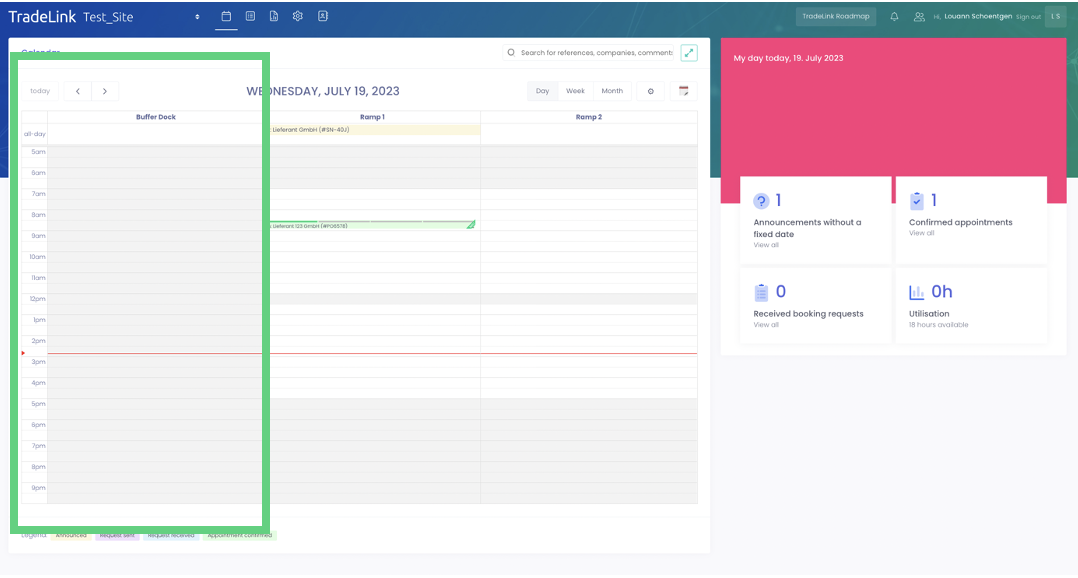
Click on "Create Loading dock" to complete the configuration. The new loading dock will then appear in your calendar.

You also have the option to create a "buffer" ramp to which you can move appointments. You can create this buffer ramp without a calendar, meaning that it can not be booked by your partners.